Make your own logo like a pro!
How to make a logo without photoshop and being a designer

Every company or website has its logo, no matter it's the tech giant or a simple personal blog. This has always been my weak point since my first website. Every time I forced myself to "learn" PhotoShop to tackle for that single time. But when you need to come back to change slightly the design or logo to fit a new blog theme you need to "learn" again from scretch.
There are many online tools that make you some logo with templates. I like them too but at the end if you want to have controls on your own logos, you need to go to the traditional way - DIY. (If you try to use the search by image in Google on these canned logos, you will be so surprised to see how many other website around the internet are sharing the same logo with you LOL)
The Tool - Google Drawing
I tried this new way for How We Retire. Did some search on the internet around "make your own logo withouth Photoshop"... etc and came across Google Drawing. At the end it went quite well and I am proud to say I am not annoyed by making myself a logo! Also Google Drawing is free to use! Which makes it a very good tool to use for non professional like us! And I am going to share how we used this nice tool in making all our logo!
Let's Begin
It should be easy and straight forward for people who had experience with Google Drive. We will go through only some note mentioning points below.
Starting point
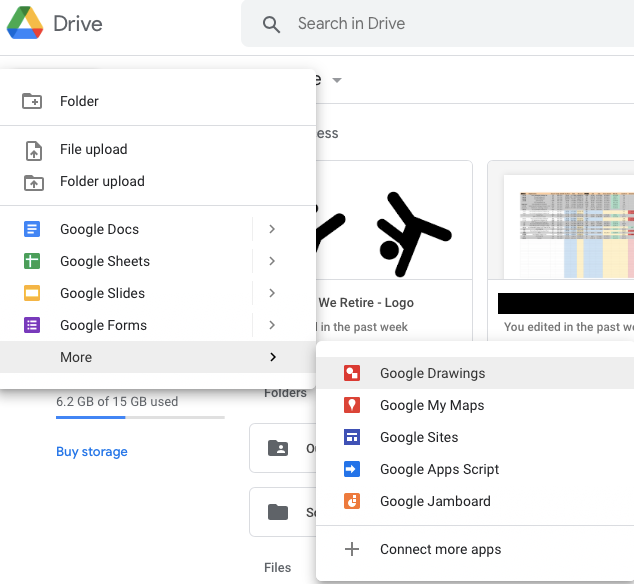
Get to the main page of your drive and New -> More -> Google Drawings.
Give it a good name is important
Get prepared that you will have a lot of different drawing raw files for future use. (You will see why at the end)

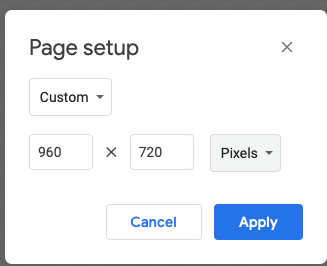
Where to set the size of the drawing?
Go to File -> Page Setup. You can pick your own perferred size. 960 x 720 pixels can be a good start.
Wordings
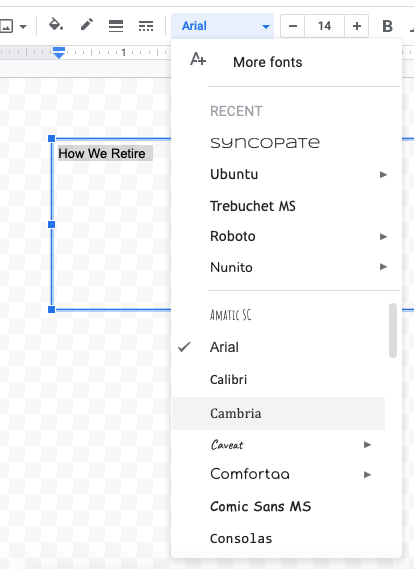
Most logo consists on the word part and the icon part. Let's make the wordings. On the top panel you see the textbox tool. Click on it to make a textbox on your drawing main panel and put your website name. Then you can select your text and pick the 30+ fonts Google drawing offers you. Changing colour of the words are similarly easy :)

The main logo part
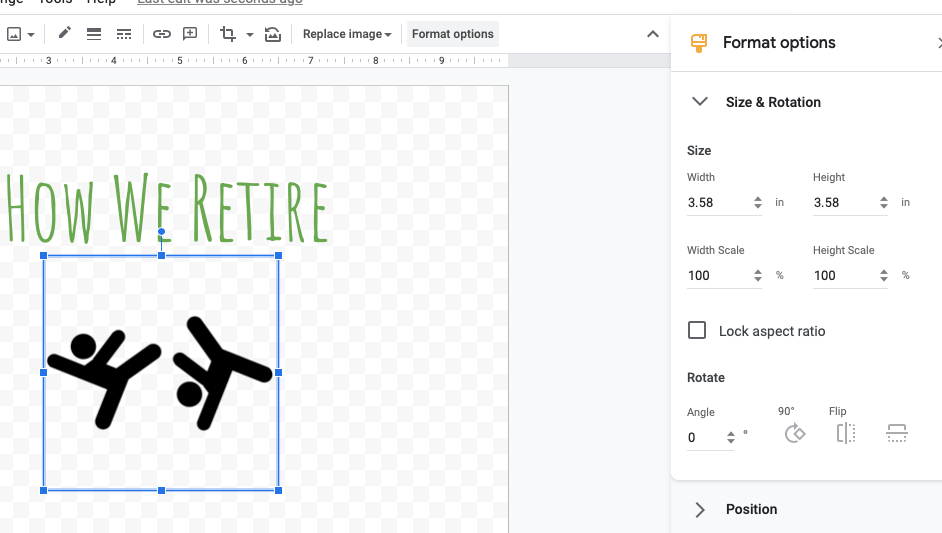
Adding a icon or graphical element and make your logo much easier to recognize and remember. For non professionals like us, we started this part with a free license using icon resources page such as The Nonu Project. You can drag and drop the png file you get from internet to your drawings.
The Format options on the tool bar is quite useful for icon editing. Click on it and you see a lot more options available. The rotation is an handy one to customize your icon.
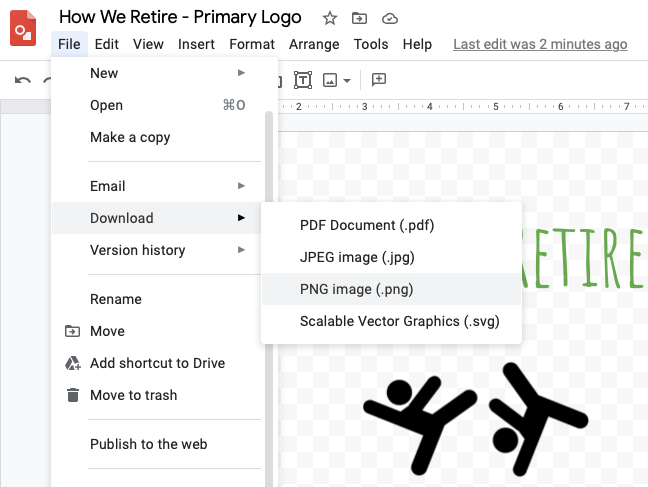
Most important step
After your are happy with your logo design, you can export the png image file by File -> Download -> PNG image (.png) (or other formats). And any future modification can be done again through Google Drawing based on this raw file!
Final Tip
You should seperate different part of your logo in individuals drawing files, in our case the 2 parts are the wordings and the happy dude themselves. This could add the flexibility of your future publications. E.g. Some publication size can be too wide you want the words and icons to be side by side while some are narrow enough you wish to put wordings underneathe the icons. (And that's why naming is important as said earlier that you have all your drawing files organized well).